
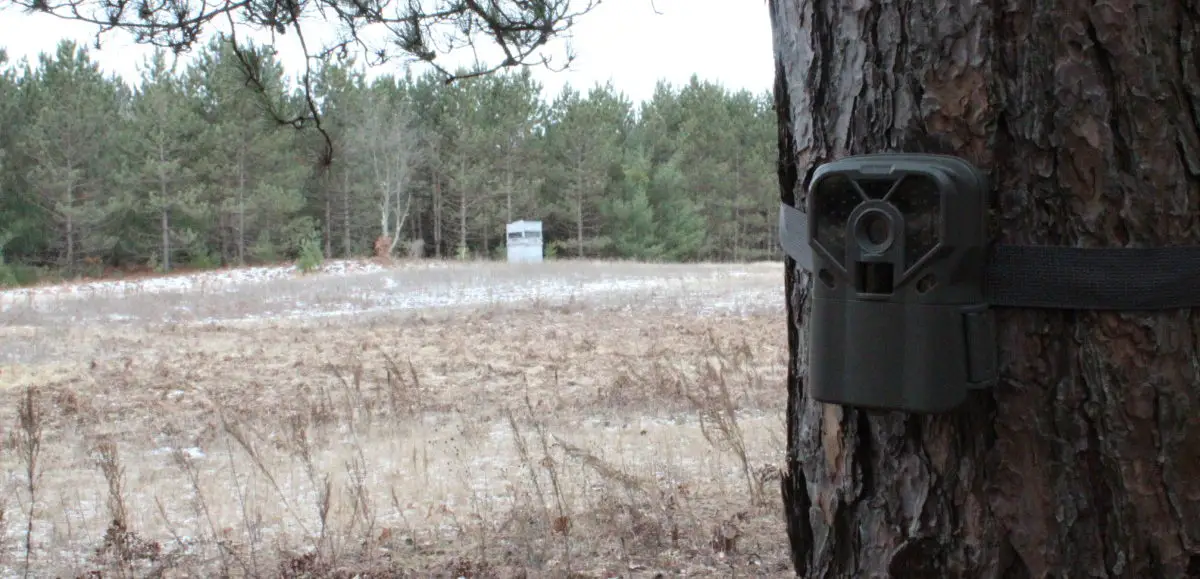
Purchasing a trail camera can be difficult. You can easily walk into any sporting goods store and become overwhelmed with fancy marketing terms such as multi zone detection, trigger speed, and high definition video.
Your shopping experience quickly turns into a sea of confusion, and a lot of Googling. The truth is, when you are focused on the hot key words that the manufacturer uses to sell you on a camera, you loose sight of what will translate into a better quality trail camera for you in the field.
I have spend years diving deep into trail cameras, to understand what makes one camera better than another. What I have found is that those hot marketing terms such as megapixels, trigger speed, and high intensity flash, have no bearing on the quality of the camera.
However, I have compiled a comprehensive list of features that I personally look for when purchasing a camera. These 11 features often provide a solid insight into the quality of a trail camera.
Native Image Sensor
There is a lot of emphasis placed on the amount of megapixels a trail camera has. This excitement is purely made from a marketing standpoint, in an attempt to sell trail cameras. What is most important is the size of the image sensor. All trail camera companies use one of three image sensor sizes, 1.6, 3.1, and 5. These sizes are the native resolution that a trail camera has.
When a trail camera company markets their camera as a 20 Megapixel camera, this can be done with any image sensor through a process called interpolation. Which is simply duplicating pixels within the picture to make the file size larger. This has nothing to do with clarity of photo, just a marketing gimmick to sell more cameras.
Know the size of the image sensor, and simply skip any camera that doesn’t use a 3.1 or larger. The quality of the photos just will not be there, and in the end will leave you wanting more.
A quick tip, never set your megapixels beyond 2.5 times the the native image sensor. Anything more than that will give you larger file sizes, but will not increase the quality or clarity of your photo. For instance if you are using a 3.1 MP image sensor, only use an 8 MP setting.
Most companies however do not market the size of their image sensor anywhere on the box, and in most cases do not provide this information even within their owners manual. Do your research, and send an email out to the manufacturer and simply ask what size image sensor they use. Most companies will get back to you within a day, and the finding out this small piece of information will aid you in making a more informed decision.
Detection Zone, Field Of View and Trigger Speed
While all of these are separate features, it is important to understand that each one alone, does not result in a better camera. The size of the detection zone and the size of the field of view need to correlate with the trigger speed.
The detection zone is the size of the zone in which the camera is able to detect motion and infrared heat. This is done by what is known as the PIR sensor (Passive Infrared). The size of the zone is often measure by the angle from the camera, typically between 52 and 38 degrees.
The field of view is the actual view you will see when taking a picture. This has a lot to do with the angle of the lens on the camera, and is also typically measured between 52 and 38 degrees.
The trigger speed is simply the amount of time it takes the camera to actually take the photo. The time from when the PIR sensor detects motion and heat, until the image is collected by the image sensor is the actual cycle that is calculated.
The reason these three are grouped together is simply that they all work together in order to capture the subject in the middle of the frame. For instance if the camera has a slower trigger speed (more than .7 of a second) you will want to make sure that the detection angle of the camera is greater than the field of view. The purpose of this is that if the detection distance is outside of the field of view, the animal will be detected early, and a slow trigger speed, will allow for the animal to reach the center of the field of view before the picture is captured.
If that exact same scenario existed, but the trigger speed was fast, the photo would already be taken before the animal reaches into the field of view.
My personal preference is to have a 42 degree field of view, with a 38-40 degree detection angle, accompanied by a fast trigger speed around .3 seconds. Having the smaller detection zone, and a fast trigger assures that the animal will always be in the center of the image.
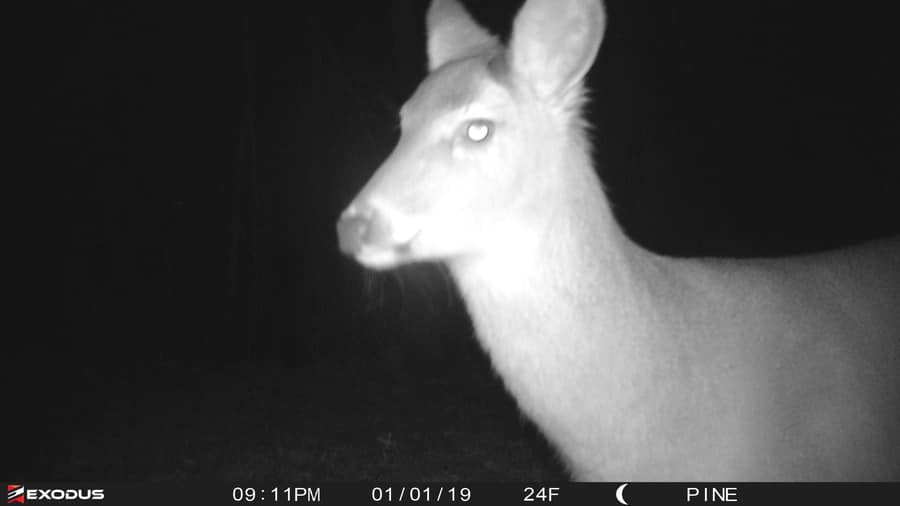
Black Flash
For years I ran nothing but IR flash cameras. I thought they were adequate for everything I was looking for in a night flash. And then I tried a Black Flash, or sometimes called no glow, camera. Now, I personally will never buy a camera that isn’t equipped with black flash.
The amount of photos I have of deer looking into the camera, is a fraction of what it was using an IR flash.
I know that scientifically deer are not suppose to be able to detect the light from objects with longer wavelengths such as red, and extremely long wavelengths produced from infrared. I have no reason not to believe science, but personally I have had fewer deer spooked by the flash using black flash than I did with IR. For that reason alone, black flash is a must for any trail camera.
Flash Quality
At the core of photography, everything revolves around the ability to capture, and manipulate light. The better quality of flash a camera has, the better your night time photos will appear. The problem is, there is no one way to understand the quality of light that a camera has. Manufacturers often use key words like high intensity, or premium, which is just nothing more than good marketing terms.
The best way for the consumer to determine the quality of lights is by whether or not they have a setting to adjust light intensity. The light intensity feature allows you to make the light stronger or weaker, depending on the back drop, and how close you predict the subject will be to the camera.
Having this option, if nothing else, tells you that you have control over the artificial lights, and will have the ability to adjust them to your specific need.
Video FPS
When running trail cameras, I use video settings about as equal if not more often the I use regular photos settings. The reason for this is there is just so much more information you can receive from a video than you can from a photo.
The most important aspect of a video is the recording speed, known as frames per second (FPS). The easiest way to understand FPS is to think of it as individual pictures stitched together to form a video. For instance, if a camera films at 15 FPS then it would equate to 15 individual pictures per second. The more FPS that a camera films at the more smooth the video will appear.
Personally I look for at least 30 Frames per second when choosing a camera that will be used for video.
Video Resolution
While Frames Per Second is the most important feature when it comes to video recording, the video resolution has a huge impact on the clarity of the video. There is essentially three video resolutions on the market today, 720p, 1080p, and 4K. The numbers 720 and 1080 represent the number of lines of pixels that the camera will have. 4k is a number that is rounded to display the amount of lines of pixels it has as well, but it is actually 3840 x 2160p, which is not quite 4k.
Obviously the more lines of pixels, the more clarity the video will have. Don’t be fooled by this though. The frames per second has a much bigger impact on the quality of video than the pixel count does. I would take a 1080p video that is filmed at 30 FPS over a 4k resolution filmed at 15 FPS every day.
Detection Distance, and Flash Distance
The detection distance and flash distance are fairly easy concepts to understand. Detection distance is the measured distance from the camera in which an animal can be detected by the PIR sensor. Naturally you would think that the farther the distance is the better you are, and in most daylight situations you would be correct. The problem with a large detection distance occurs when the flash distance is relatively short.
The flash distance is the distance from the camera that the night time flash will effectively reach. The importance here to is to make sure that these two distances are close in measurement.
For instance, if the detection distance is reaching up to 100 feet, and the flash distance is only capable of reaching out to 60 feet, your camera will likely be taking night time photos of animals that are beyond the cameras ability to to see. Simply double checking to make sure that the flash distance is equal to the detection distance can save you a bunch of frustration in the end.
Hybrid Mode
Possibly my most used setting on any camera is the hybrid mode. This mode, when triggered by the PIR sensor will take a photo, and then proceed to capture the rest with video. The reason I like this mode so much is that it gives you the best of both worlds. You have a photo that you can save to your computer, share with friends, and keep for historical data. You will also have the video, and in my opinion a video will give you more information about a deer than any set of photos ever will.
Hybrid mode is not a deal breaker when purchasing a camera, but it is a great feature to have, especially when you are just starting to move away from still photography and getting into running your cameras on video mode. It will give you the comfort of having both.
SD Capacity
When running trail cameras, the one thing that will give you the best results, is to leave your cameras alone in the woods to do what they do best; take photos. Allowing your cameras to soak for months on end, will give you the best results in terms of undisturbed deer patterns.
In order to do this though, you need to be able to have a large enough SD card capacity in order to collect months worth of trail camera photos. If you are running your camera with a standard 8MP resolution, you will be able to store about 350 photos for every GB your card can hold. For example if you were using a an 8GB SD card, you would be able to hold approximately 2,800 photos.
If you were using burst mode of 4 pictures per PIR detection, that would result in about 700 triggers. That number is fine for leaving your camera out for a month or two, but if you are anything like me, its not uncommon to allow them to soak for up to 6 months between card pulls. That sort of capacity just doesn’t meet my needs.
Using the same example of an 8GB card but running your camera in video mode at 1080p, you will only have about 120 minutes worth of recording time available to store on your SD card. If you are setting your camera to record for 20 seconds, that will give you a total of about 360 videos.
When choosing a trail camera it is important to understand the largest capacity card that a camera will hold. You will not necessarily have to use the largest card a camera will hold, but I do not purchase a camera that will not accept at least a 32GB card.
A 32GB SD card will allow you around 11,000 photo capacity and roughly 480 minutes of video. Over the course of 6 months that capacity would allow you to capture nearly 2,000 images, or 240 video clips per month.
Warranty
I have never simply purchased a camera based on the manufacturer warranty alone, but in many cases I will lean more heavily toward a company that offers a longer warranty.
In today’s day and age when the majority of the trail camera manufacturers simply give the one year limited warranty, it is nice to see companies who step up and and back their products for longer periods. It gives me the confidence in a product, in which the manufacturer has confidence in as well.
There are a handful of companies who offer a two year warranty, such as Moultrie, Cuddeback, and Covert cameras. While only Recoynx and Exodus offer an industry leading 5 year warranty.

Time Lapse
Lets be honest, time lapse mode is the setting on a trail camera that I use less often than any other mode on a trail camera. In most cases its simply just not applicable to the type of wildlife surveillance that I am able to do. With that said, during the Spring, when I am using trail cameras to pattern turkeys it is the feature that I lean on to cover open terrain around sunset, when turkeys tend to be getting ready to roost.
When you need it, having a good quality time lapse mode that is easy to set, and easy to understand the settings, is key. I have always enjoyed the Browning buck watch time lapse player for these situations. Again, I would never purchase a camera solely on the time lapse mode, but it is a good feature to have when needed
Unfortunately most of these features that I have deemed important for a quality trail camera, are not listed on the box. As a consumer it pays to do your homework. Almost all trail cameras on the market have their owner’s manual on the companies website. If all of the information that you need is not easily found, I find that emailing the manufacturer directly is the best way to get a clear answer. I find that in the end, it is always better to do the leg work and make sure that you get exactly what you want, rather than waste a week’s paycheck on a product that doesn’t meet your expectations.